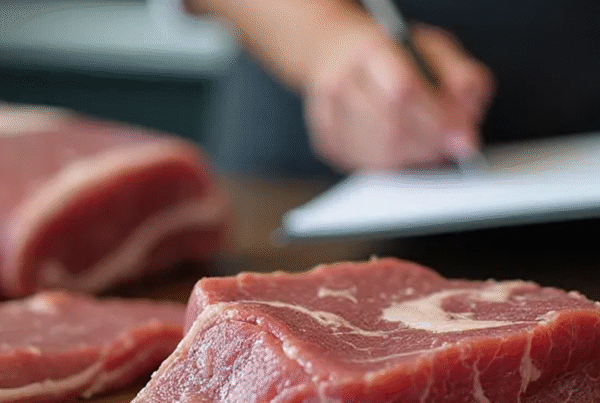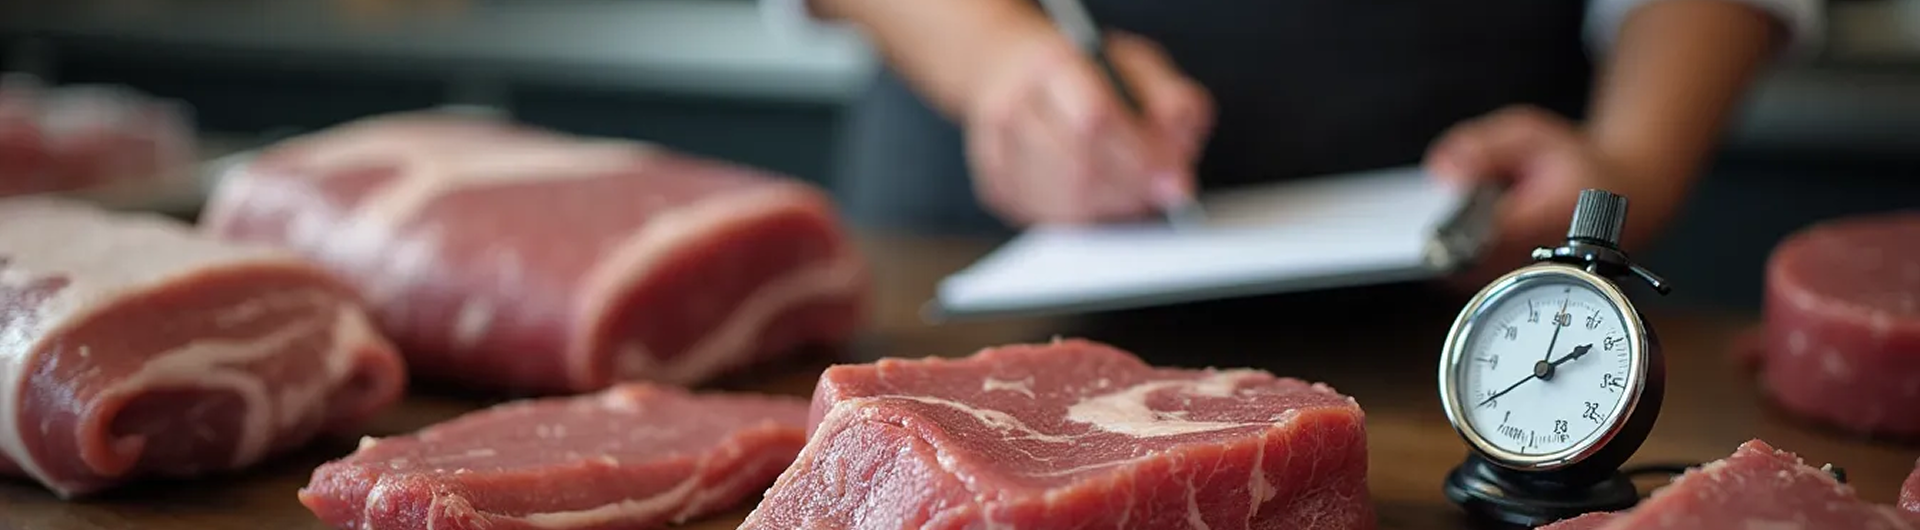
Whether you’re a seasoned grill master or just starting your culinary journey, the meat probe thermometer is your single most important tool for achieving consistent, delicious, and safely cooked food. It takes the guesswork out of cooking, replacing hope with data. But owning a probe thermometer is one thing; using it correctly is another. This guide will walk you through the essential steps, from placement to reading, ensuring every meal you prepare is a masterpiece.
Understanding the Two Main Types of Probe Thermometers
First, it’s important to know which type of probe thermometer you are using, as their functions are different.
- Instant-Read Probe Thermometers: These are designed for quick temperature checks. You insert the probe, get a reading in seconds, and then remove it. They are perfect for fast-cooking foods like steaks, burgers, and fish fillets.
- Leave-In Probe Thermometers: Often sold as a wired meat thermometer, this type has a probe that stays in the food throughout the cooking process. A heat-safe cable connects it to a base unit outside the oven or smoker, allowing for continuous monitoring. This is the ideal tool for long roasts like turkey and brisket. Some advanced models are even fully wireless.
The 5 Golden Rules of Using a Meat Probe
No matter which type you have, these five rules are universal for getting an accurate result.
Rule #1: Calibrate for Accuracy
Before you rely on it, ensure your thermometer is accurate. Use the simple ice bath test to check if it reads exactly 32°F (0°C).
Rule #2: Know Your Target Temperature
Always have a goal. Know the safe and desired final temperature for the meat you are cooking before you begin.
Rule #3: Master Probe Placement
This is the most critical skill. The golden rule is to insert the probe into the thickest part of the meat without touching bone or gristle.
- For roasts and poultry: Go into the thickest part of the thigh or breast.
- For steaks and chops: Insert horizontally from the side.
- The sensor is in the bottom half-inch of the probe, so ensure that part is in the very center of the meat.
Rule #4: Read the Temperature Correctly
With an instant-read model, wait 2-5 seconds for the numbers to stabilize on the screen. For a leave-in model, you can monitor the temperature as it rises on the base unit.
Rule #5: Clean and Care for Your Probe
Always wash the probe with warm, soapy water after each use to prevent cross-contamination.
How to Use a Leave-In Meat Probe for Roasting & Smoking
A leave-in meat thermometer is your best friend for long cooks.
- Insert the Probe: Before placing your roast in the oven or smoker, insert the probe into the thickest part of the meat.
- Position the Cable: Drape the heat-safe cable over the side, ensuring it won’t be pinched by the oven door or smoker lid.
- Set Your Alarm: On the external base unit, set your target temperature. The alarm will sound when your food is ready.
- Monitor: Let the thermometer do the work, and avoid opening the oven or smoker door.
How to Use an Instant-Read Probe for Grilling & Final Checks
An instant-read probe is essential for fast cooking and final verification.
- Check Near the End: Towards the end of the cook time, quickly insert the probe into the thickest part of the meat.
- Get a Fast Reading: Wait for the temperature to stabilize (2-3 seconds for a quality model).
- Verify in Multiple Spots: For large roasts, use your instant-read to check a few different areas to ensure the entire piece is evenly cooked.
The Rouuo Recommendation: The Ultimate Instant-Read Probe
For the speed, versatility, and precision needed for everyday cooking and final checks, every kitchen needs a high-quality instant-read probe thermometer. We designed the ROUUO Instant-Read Thermometer to be that essential tool. Its ultra-thin probe, 2-3 second reading time, and durable, easy-to-clean body make it the perfect probe thermometer for countless tasks.