
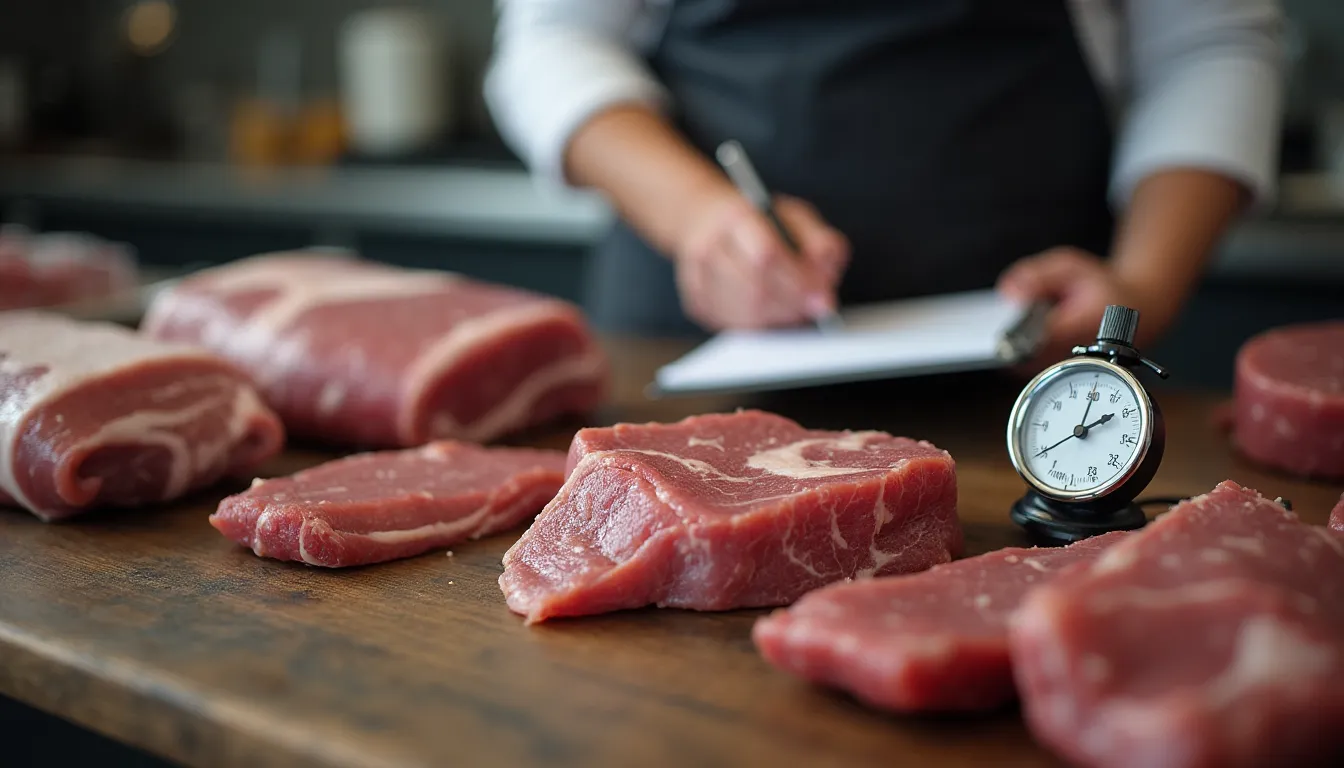
Welcome to the single most important secret for becoming a better cook. It isn’t a fancy pan or an exotic ingredient; it’s a simple tool that removes guesswork and gives you the confidence to cook meat and poultry to perfection every single time. We’re talking about a digital meat thermometer.
If you’ve ever been hesitant to use one, this guide is for you. We’ll walk you through the simple, step-by-step process, from calibration to cleaning, so you can start cooking with complete confidence.
Why Use a Meat Thermometer? (The Two-Second Summary)
Before we get to the “how,” let’s cover the “why.” A meat thermometer provides two non-negotiable benefits:
- Food Safety: It is the only way to guarantee that poultry, pork, and ground meats have reached the safe minimum internal temperature required to eliminate harmful bacteria.
- Cooking Quality: It’s the key to unlocking steakhouse-quality steak, juicy chicken breast, and tender pork loin. It allows you to pull your food from the heat at the peak of its perfection, preventing it from becoming dry and overcooked.
Before You Begin: Understand Your Thermometer
There are two main types of digital thermometers. Knowing which one you have is key.
- Instant-Read Thermometer: This is the most common and versatile type. You insert it into the food, get a reading in a few seconds, and then remove it. It is not meant to be left in the oven or grill.
- Leave-In Thermometer: This type has a heat-safe probe on a cable that stays in the food while it cooks, with a display unit that sits outside the oven. It’s used for long roasts like a whole turkey or brisket.
This guide will focus on using the most common type: the instant-read thermometer.
How to Use a Meat Thermometer: The 5-Step Method
Step 1: Check Your Thermometer’s Calibration
For best results, you should know if your thermometer is accurate. The easiest way is the ice bath test. Fill a glass completely with ice and add just enough cold water to fill the gaps. Submerge the thermometer probe for 30 seconds without touching the sides. It should read 32°F (0°C). If it’s off by more than a couple of degrees, it’s time for a new one.
Step 2: Know Your Target Temperature
Before you even start cooking, know the temperature you’re aiming for. A quick search for a “meat temperature chart” will give you the correct numbers for beef, pork, chicken, and fish. The most important temperature to memorize is 165°F (74°C), the safe internal temperature for all poultry.
Step 3: Insert the Probe Correctly
This is the most critical technique to master. The goal is to measure the thermal center of the meat.
- The Golden Rule: Insert the probe into the thickest part of the meat, making sure not to touch any bone, as bone conducts heat differently and will give you a false reading.
- For Whole Roasts (Chicken, Turkey): Insert the probe into the thickest part of the thigh, angled toward the body without hitting the bone.
- For Steaks, Chops, and Chicken Breasts: Insert the probe horizontally from the side into the thickest part.
- For Burgers: Insert the probe horizontally from the side to ensure the tip is in the center.
Step 4: Read the Temperature
Hold the thermometer steady until the numbers on the digital display stop fluctuating. A high-quality instant-read thermometer, like the ROUUO, will give you a stable reading in just 2-3 seconds.
Step 5: Clean and Store Your Thermometer
After each use, wash the metal probe with warm, soapy water. Never submerge the entire electronic body unless it is specifically rated as waterproof. Dry it thoroughly, fold the probe away, and store it in a safe place.
The Rouuo Recommendation
If you’re looking for the perfect first thermometer, we designed the ROUUO Instant-Read Thermometer for this exact purpose. It’s incredibly fast, highly accurate, and durable enough for any kitchen task. Its simplicity and reliability make it the best tool to build your cooking confidence.
FAQs
Where is the sensor on a meat thermometer?
On most digital instant-read thermometers, the sensor is located in the bottom half-inch of the metal probe. You need to make sure this part is fully inserted into the center of the meat for an accurate reading.
Can I use one thermometer for raw and cooked meat?
Yes, but you MUST clean it thoroughly with hot, soapy water after it touches raw meat and before you use it on anything else to prevent cross-contamination.
How deep should I insert the thermometer?
Insert it deep enough so the sensor (the bottom half-inch of the probe) is in the center of the thickest part of the meat.
Why is my meat still dry even with a thermometer?
This is likely due to not accounting for “carryover cooking.” You should remove meat from the heat source about 5°F before it reaches your target temperature. It will continue to cook as it rests, bringing it to the perfect final temperature.

Appreciate the reminder that thermometers aren’t just for big holiday roasts. I’ve started using mine for everyday meals and it’s been a game-changer for juicier chicken and better pork chops.